Flutter
Introduction
Why Flutter created in 2017
- Compiles to native, JIT and Ahead of Time
- Fast Development
- Single Code Base
- Uses Dart
Resources is https://github.com/simoales/flutter
Installation
Flutter
You can switch versions of flutter using the channel option where there are options of master, dev, beta etc. See https://github.com/flutter/flutter/wiki/Flutter-build-release-channels
sudo snap install flutter --classic
sudo snap install flutter-gallery
flutter channel dev
flutter upgrade
flutter config --enable-linux-desktop
You will need to specify the path to android studio
flutter config --android-studio-dir="/opt/android-studio-4.1/android-studio"
Android Studio
For Android Studio the flutter SDK will be in /home/(username)/snap/flutter/common/flutter
Flutter doctor
You can run flutter doctor to see if all went well. This is what I got
flutter doctor
[✓] Flutter (Channel dev, 1.25.0-8.0.pre, on Linux, locale en_NZ.UTF-8)
[✓] Android toolchain - develop for Android devices (Android SDK version 30.0.3)
[✓] Linux toolchain - develop for Linux desktop
[!] Android Studio (not installed)
[✓] VS Code (version 1.52.0)
[✓] Connected device (1 available)
Creating a Project
In VS Code run flutter doctor and then flutter new project. Project names must be in lower case. e.g. hello_flutter. This opens a new VS Code with the project. The import contains the widgets to use and the rest just configures the widgets on the screen. I.E. Text is like a <Text /> tag in react or angular.
import 'package:flutter/material.dart';

void main() {
  runApp(Center(
    child: Text("Fred Was Ere",
        textDirection: TextDirection.ltr,
        style: TextStyle(backgroundColor: Colors.blue)),
  ));
}
When familar we can create a project with the flutter cli
flutter create app_widgets
A Bigger Example
So a bigger example might be
import 'package:flutter/material.dart';

void main() {
  runApp(MaterialApp(
    title: "My lovely App",
    home: Scaffold(
      appBar: AppBar(
        title: Text("App Bar Title"),
      ),
      body: Material(
        color: Colors.deepPurple,
        child: Center(
          child: Text(
            "Fred Was Ere",
            textDirection: TextDirection.ltr,
            style: TextStyle(color: Colors.white, fontSize: 36.0),
          ),
        ),
      ),
    ),
  ));
}
Classes
Things are getting a big large so we need to break the code down. We do this by writing our own classes. We can derive a class from StatelessWidget to do this.
class MyWidget extends StatelessWidget {
  @override
  Widget build(BuildContext context) {
    return MaterialApp(
      title: "My lovely App",
      home: Scaffold(
        appBar: AppBar(
          title: Text("App Bar Title"),
        ),
        body: Material(
          color: Colors.deepPurple,
          child: Center(
            child: Text(
              "Fred Was Ere",
              textDirection: TextDirection.ltr,
              style: TextStyle(color: Colors.white, fontSize: 36.0),
            ),
          ),
        ),
      ),
    );
  }
}
Fat Arrow
Dart supports the fat arrow approach so we can so
import './screens/home.dart';

void main() {
  runApp(MyWidget());
}
Can become
import './screens/home.dart';

void main() => runApp(MyWidget());
Adding Logic
No surprises here. We can add functions within the class declaration.
import 'package:flutter/material.dart';

class Home extends StatelessWidget {
  @override
  Widget build(BuildContext context) {
    return Material(
      color: Colors.deepPurple,
      child: Center(
        child: Text(
          sayHello(),
          textDirection: TextDirection.ltr,
          style: TextStyle(color: Colors.white, fontSize: 36.0),
        ),
      ),
    );
  }

  String sayHello() {
    var hello;
    DateTime now = DateTime.now();
    if (now.hour < 12) {
      hello = "Good Morning";
    } else if (now.hour < 18) {
      hello = "Good Afternoon";
    } else {
      hello = "Good Evening";
    }
    return hello;
  }
}
Basic Widgets and Concepts
The basic widgets and Concepts are
- Container
- Text
- Row & Column
- Image
- RaisedButton
- AlertDialog
- Box Constraints
- Size, Margin and Padding
Containers
They are as they sound. It is worth noting the width and height are controlled by the parent. Look at https://flutter.io/layout. To bypass the constraint of the parent you need to wrap your widget in a widget which supports this. E.g. Center widget.
import 'package:flutter/material.dart';

class Home extends StatelessWidget {
  @override
  Widget build(BuildContext context) {
    return Center(
        child: Container(
      width: 192.0,
      height: 96.0,
      alignment: Alignment.center,
      color: Colors.deepOrangeAccent,
      child: Text(
        "Pizza",
        textDirection: TextDirection.ltr,
      ),
    ));
  }
}
Margins And Padding
Margins and Paddings use the EdgeInsets.All and EdgeInsets.Only constructor. So to set a margin we can do.
...
        child: Container(
      width: 192.0,
      height: 96.0,
      margin: EdgeInsets.only(left:50.0),
      padding: EdgeInsets.All(10.0),
...
Fonts
Copy the fonts to a directory. The file pubspec.yaml contains the configurations.
  fonts:
    - family: Oxygen
      fonts:
        - asset: fonts/Oxygen-Regular.ttf
        - asset: fonts/Oxygen-Bold.ttf
          weight: 700
        - asset: fonts/Oxygen-Light.ttf
          weight: 300
Now we can use the font with the Text Widget
...
      child: Text(
        "Pizza",
        textDirection: TextDirection.ltr,
        style: TextStyle(
          fontFamily: 'Oxygen',
          fontWeight: FontWeight.w300,
        ),
...
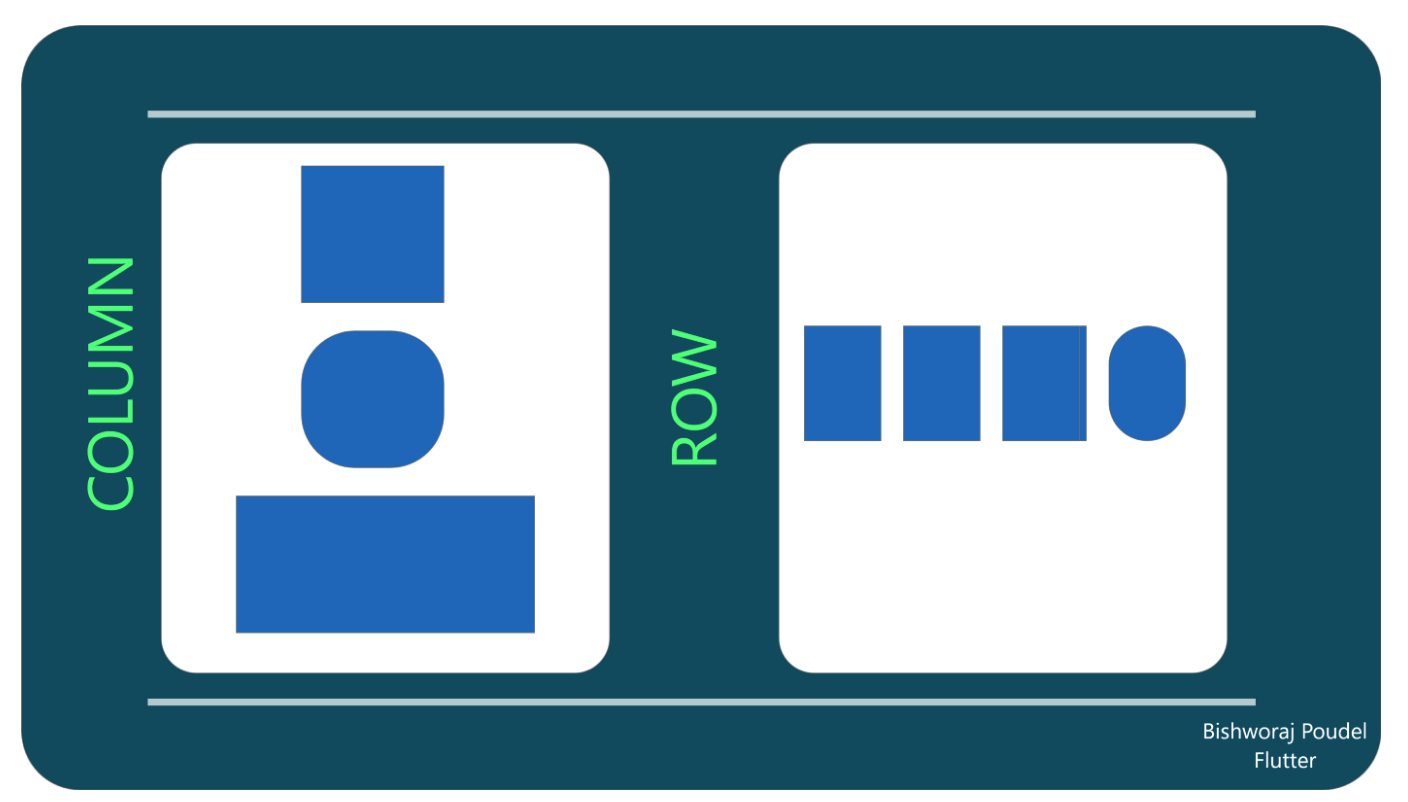
Rows and Columns
These seem to work the same as flex box.

...
        child: Row(
          children: <Widget>[
            Text(
              "Margherita",
              textDirection: TextDirection.ltr,
              style: TextStyle(
                fontFamily: 'Oxygen',
                fontWeight: FontWeight.w300,
              ),
            ),
            Text(
              "Tomato, Mozzarella, Basil",
              textDirection: TextDirection.ltr,
              style: TextStyle(
                fontFamily: 'Oxygen',
                fontWeight: FontWeight.w300,
              ),
            ),
          ],
        ),
...
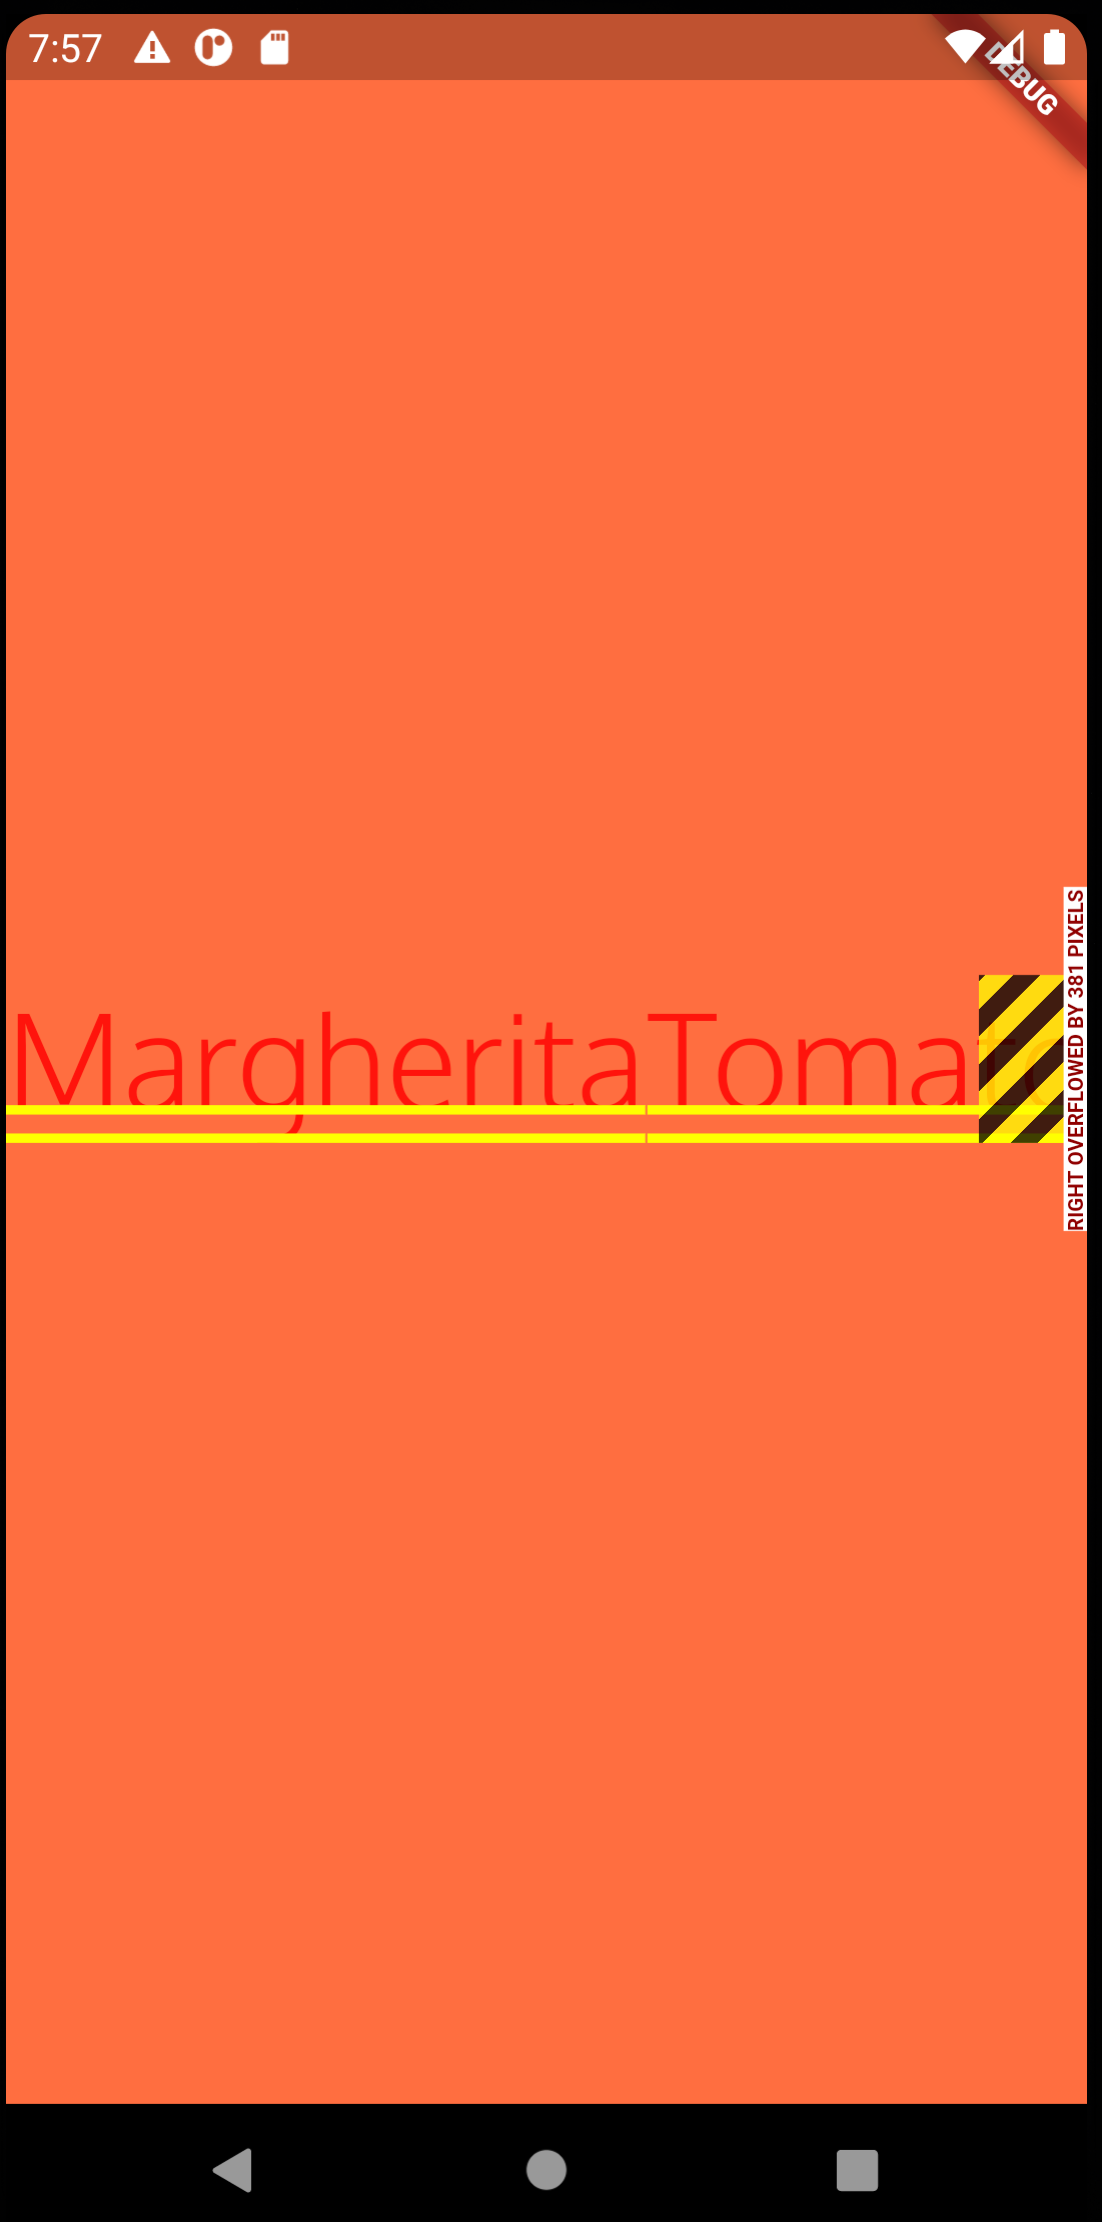
The result is items which overflow the row because the text exceeds the width of the phone.

Expanded
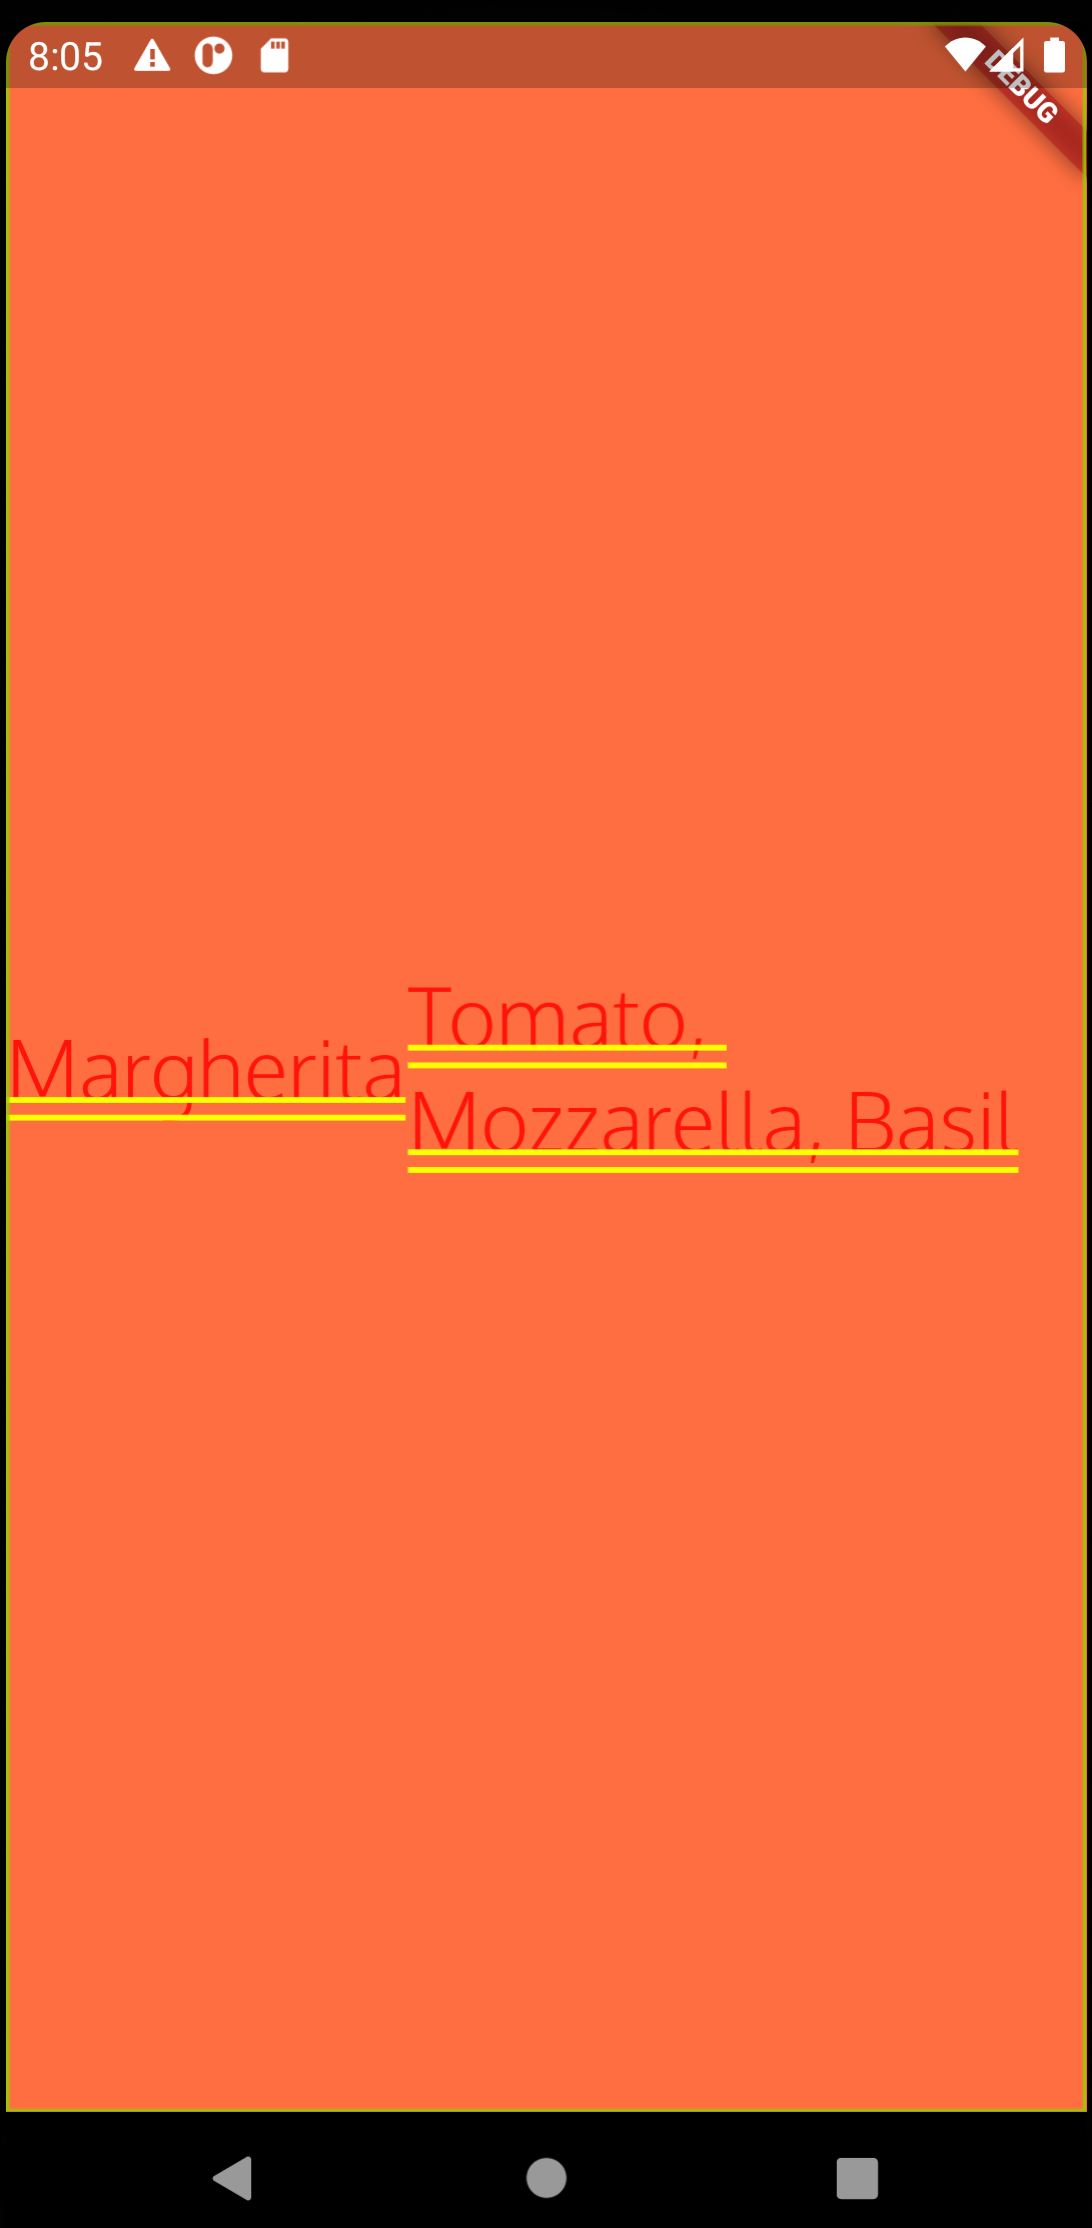
Adding the expanded keyword makes the text content wrap.
